Photographing Your Quilts
How to Photograph Quilts Well
You finished a quilt you're proud of and snapped a photo of it, but the photo doesn't do the quilt justice. It happens to nearly every quilter at some point: we want gorgeous photos to show off our masterpiece of a quilt! This guide covers the light that flatters a quilt, the reliable ways to hang one for a photo, and the short list of shots to grab every time before you fold it back up.
You Don't Need a Special Camera
Your phone is enough. Wipe the lens with a soft cloth before you shoot, since oil and dust can affect the sharpness of your image. The photos you see in quilt books and Etsy listings are oftentimes taken on phones by quilters who figured out the light and the display setup. Focus your energy there, not on gear.
Lighting: Outdoor Photos
Bright and harsh rays of sunshine directly on your quilt will be unflattering; instead, you want indirect, diffused light for beautiful photos. If possible, wait for an overcast day when clouds uniformly cover the sun. This will diffuse the sunlight, creating excellent lighting for photos. If your weather forecast only shows sunny days ahead, opt for a "golden hour" photoshoot instead: the 1 to 2 hours before sunset are excellent for photography. During this time, the sun is low on the horizon, creating soft, warm, indirect lighting.
The worst time of day for outdoor photos is midday, on a sunny day. Direct sun blows out color and creates harsh shadows, which results in unflattering photos of both quilts and people. Finding a fully shaded spot can be an option: under a tree, on a covered porch, or on the shaded side of the house. However, at some times of day, the shade will give a cool tint to all of the colors in the image. If you can wait for either golden hour or an overcast day, your photos will turn out better.
Lighting: Indoor Photos
For indoor photos, pay attention to both lighting and background. Just like outdoors, you want to find a spot with plenty of natural light, but you want the lighting to be diffused. Direct light that creates clear shadows is not ideal. Wait an hour or two for the sun to shift in the sky, and then check that spot indoors again: it may be a perfect spot at another time of day.
For clear, appealing photos, don't attempt a quilt photoshoot after the sun has gone down. Artificial lighting will never do a quilt the justice it deserves in a photo.
The Three Best Ways to Display a Quilt for Photos
There's no single right way to display a quilt for a photo. The best choice depends on the quilt's size, what you have on hand, and the look you're after. Here are three setups that reliably produce a flat, evenly lit shot: holding it up (by hand or with quilt sticks), draping it over a fence, or arranging it on a quilt ladder. Try more than one and see which flatters your quilt most.
Hold up your quilt (by hand, or with Quilt Sticks)
For a small quilt, ask a helper to hold it up while you take a photo. For a quilt that's too large or heavy for this, make Quilt Sticks! They are two long dowels with spring clamps attached to them. Quilt Sticks essentially extend the arm reach of your helper, allowing them to hold up larger and taller quilts for photos. Clamp the top corners of your quilt in the quilt sticks to hold it flat and taut for photos. Alexis Plunkett from Stitched By Alexis has an excellent tutorial for creating these cheap, useful tools for quilt photography.
The best part of this kind of quilt photo is that you can do a photoshoot absolutely anywhere. A friend's pretty backyard, a historic downtown sidewalk, a forest trail… choose any location that will show off your quilt to its fullest. If using this method indoors, look for the location with the best lighting and a simple background.
Draped over a fence
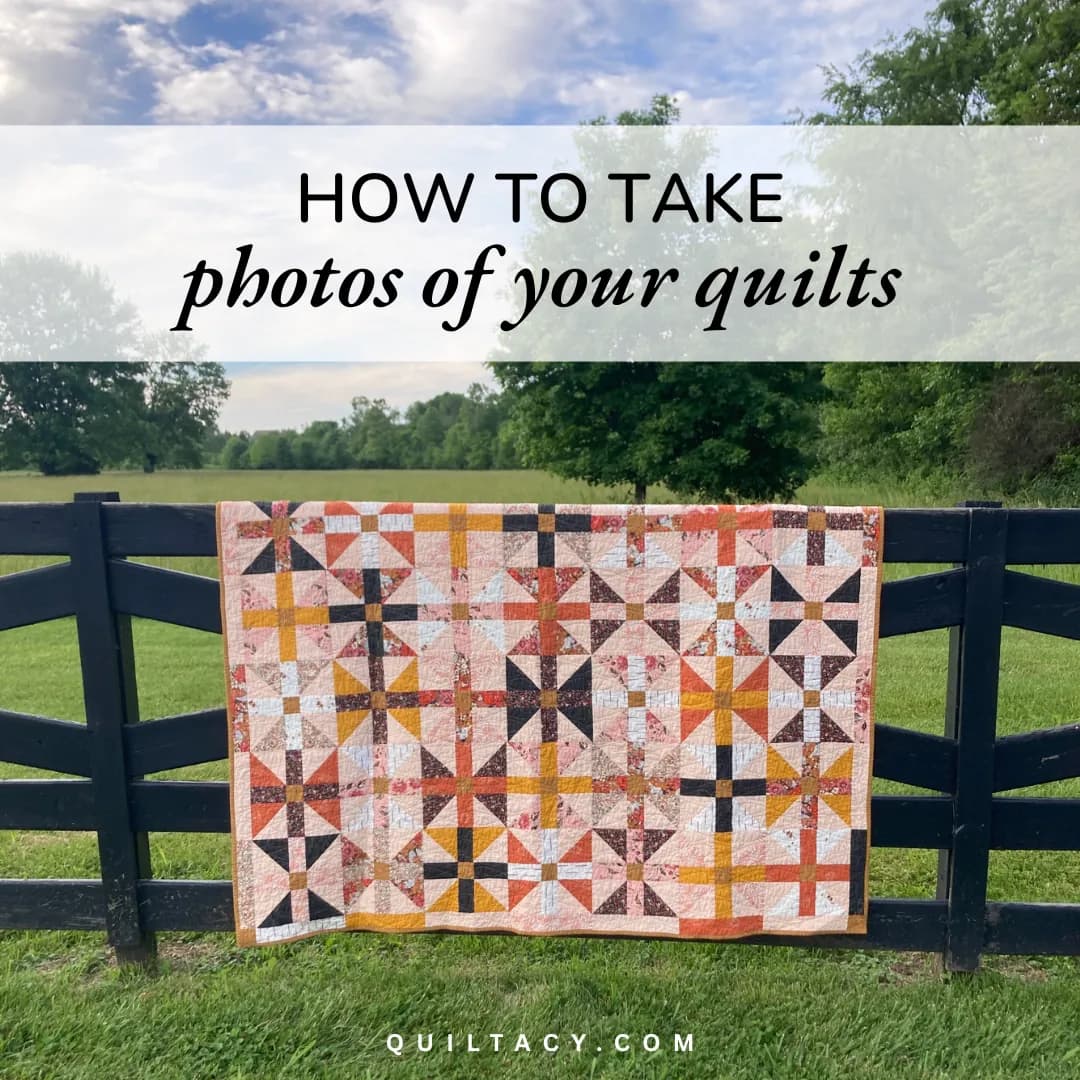
Do you or a loved one have a fence? Fences are an easy, free way to take a photo of a quilt. Bring an old sheet or picnic blanket along with you, as a protective layer between the fence and your quilt (just make sure the edges of the sheet are tucked out of sight when you're ready to take the actual photo).
Try out several ways of draping your quilt over the fence: smoothed flat, bunched together, or one edge flipped back to show a peek of the binding. Experiment with what background appears in your fence shot: does it improve if you move your phone up or down a few inches?
Step back far enough to shoot straight-on. With a fence, there's often a temptation to shoot from an angle because you're walking along it: resist that. Position yourself directly in front of the fence, phone at the center height of the quilt.
Don't have a fence? Fences at public parks, botanical gardens, and public trails can work beautifully too. Simply asking "Do you mind if I drape my quilt here for a quick photo?" almost always gets a yes, and sometimes a new admirer of your work.
Quilt Ladder
If you're a prolific quilter, you may find it useful to purchase a quilt ladder for both photography and storage. Blanket ladders can help you get interesting photos of folded quilts draped across the ladder, or closeup detail shots.
When using a quilt ladder, find a plain wall and lean the ladder slightly away from the wall (rather than flush against it). That small gap lets the quilt hang with a natural drape and keeps the bottom edge from bunching against the baseboard. Fold your quilt accordion style, and then drape half of it over the top rung. Experiment with both messy drapes and tidy drapes, and with hanging the quilt straight on the ladder versus draping it across the rungs at a slight diagonal.
The Shot List: What to Capture Before You Pack Up
Take two types of shots every time: a full quilt shot and at least two detail shots.
The full shot is the whole quilt, straight-on, in a single frame. If your quilt is large, step back until the entire piece fits with a small margin around all four edges. Don't tilt the camera up or down to fit it in: step farther back instead.
Detail shots are where all of your work shows. Make sure you get photos of:
- The binding
- The backing of the quilt
- The tag
- A photo that shows off the quilting well
- Your favorite block or section of the quilt
The Fastest Way to Ruin a Quilt Photo
Three mistakes account for most bad quilt photos.
- Distracting background. The quilt should be the only thing worth looking at. Anything visually busy behind it pulls the eye away from the work. Simplify the background before you shoot.
- Shooting in direct sun. Hard light blows out light fabrics, throws dark shadows across the blocks, and flattens the visual texture of the quilting. Wait for cloud cover, or shoot at golden hour instead.
- Tilting the camera. Even a few degrees of tilt is noticeable to someone viewing a photo. Hold the phone level and perpendicular to the ground. If your phone has a grid overlay, turn it on and use it.
Pick a Method and Start Shooting
Use whatever display method is easiest for you, or use multiple methods to get lots of different photos! The key is diffused lighting and simple, pleasing backgrounds. Take the full shot, take the detail shots, and you're done.
FAQ
How do you photograph large quilts?
Have helpers hold the corners of the quilt while hiding behind it, or hang it on a fence or quilt ladder. Step back far enough to get the full quilt in frame with a small margin around all four edges.
What is the best background for quilt photos?
A plain wall, open foliage, or an open field works best. The background should be simple enough that the quilt is the first thing your eye goes to. Busy backgrounds, like cluttered rooms, parked cars, or patterned walls, compete with the quilt and make the photo look unfinished.
Do I need a special camera to photograph quilts?
No. A current smartphone camera is enough for blog posts, social media, Etsy listings, and even print-on-demand products. Clean the lens before you shoot. The display method and the light matter far more than the camera hardware.
How do you hang a quilt for a photo?
You have three dependable options: hold it up by hand, use quilt sticks (clamps attached to dowels), or hang it on a fence. Each method produces a flat, evenly-hung surface.
What are quilt sticks and how do I use them?
Quilt sticks are clamps attached to long wooden dowels. Quilters clamp them to the top corners of a quilt to hold it up for photos. For instructions on making your own DIY quilt sticks, check out Alexis Plunkett's blog post here.